
How to Throw a Dart Correctly Without Forcing a “Perfect” Action
Build a stable stance, relaxed grip and smooth release, then use a 30-dart test to check whether your throw is becoming more repeatable.
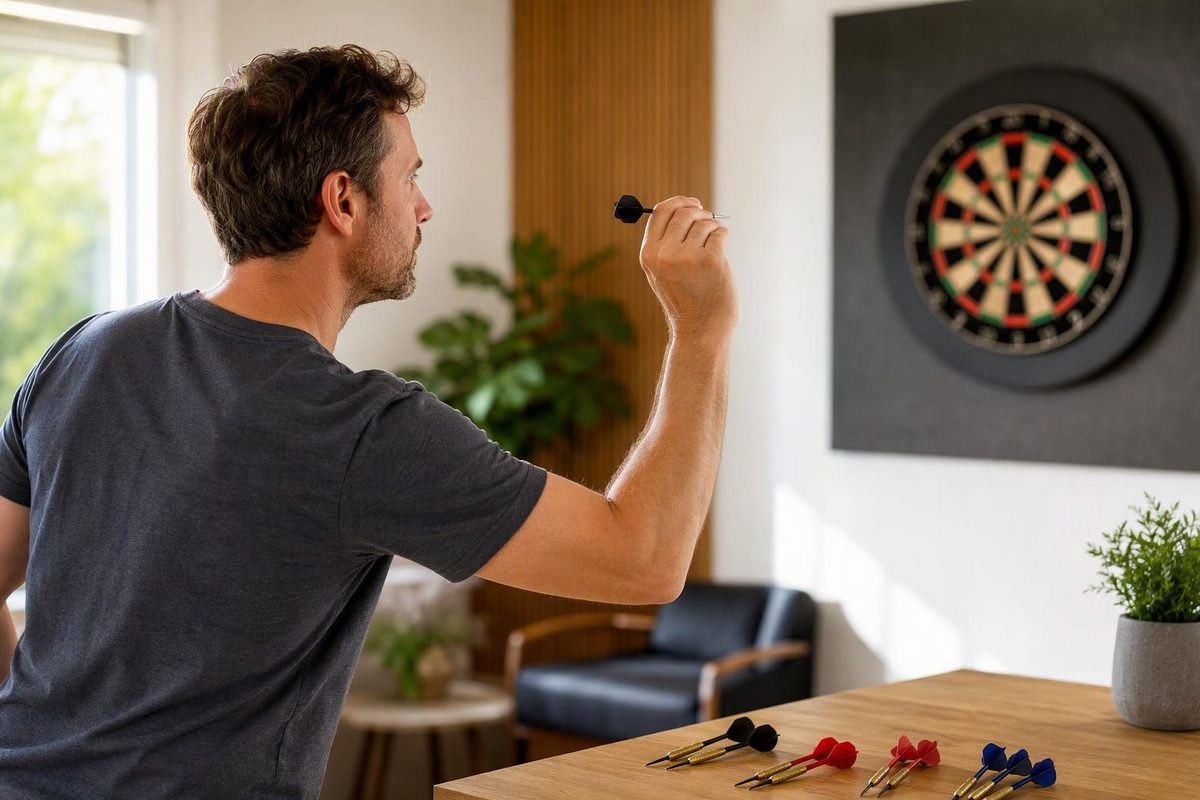
A correct dart throw is balanced, comfortable and repeatable. There is no compulsory foot angle, finger count or textbook arm shape that suits every player. The aim is to remove unnecessary movement while delivering the dart smoothly towards the target.
A motion-capture study illustrates why one model will not fit everybody. Eight expert and eight novice players each threw 60 darts; within that small sample, the experts used two release strategies. Some controlled release timing more precisely, while others followed a hand path that made small timing errors less costly (Nasu, Matsuo and Kadota, 2014).
Use these five steps as a starting framework, not a pose you must copy exactly.
1. Build a stable stance
Place your throwing-side foot at the oche: right foot forward for a right-handed throw, left foot forward for a left-handed throw. Turn it to the angle that lets you face the target without twisting or straining.
Put enough weight on the front leg to feel secure, while using the rear foot for balance. A long forward lean is not useful if it makes your body sway.
Your checkpoint is simple: can you throw all three darts comfortably without your head or torso changing position?
Remember where your front and rear feet sit. Returning to the same position matters more than choosing a supposedly ideal angle. If the line itself is uncertain, set it with this dart throw-line guide.
2. Hold the dart lightly and consistently
Rest the barrel across your fingers and find the point where it feels balanced. Place your thumb underneath, then use two or more fingers above or alongside it to control the dart. The exact finger count is personal.
Apply only enough pressure to stop the barrel slipping. If your fingers or forearm feel rigid, reduce the pressure without letting the dart move in your grip. Check that every finger can leave the barrel cleanly; if one finger catches on the point or rear of the barrel, note whether it coincides with a repeated sideways miss.
DARTSLIVE’s introductory guidance likewise recommends finding the dart’s balance and holding it without excessive pressure (DARTSLIVE throwing guide).
Once the grip feels secure, stop rearranging it between darts. If you want to move a finger or change the grip point, treat that as a deliberate experiment rather than an in-visit correction. Use the same-darts comparison in this guide to testing a new darts grip.
3. Set your aim before moving
Bring the dart into a comfortable aiming position near your dominant eye or natural sightline. Keep both eyes open if that feels normal, and look at the exact target rather than at your hand.
Do not spend several seconds trying to steer the point perfectly still. Settle, choose the target and begin the action. Your checkpoint is whether you can use the same short aiming routine before each dart—not whether the dart appears motionless.
4. Draw back and accelerate smoothly
Bend at the elbow to bring the dart towards your face, then unfold the forearm towards the board. Keep the shoulder, head and torso quiet. The upper arm should remain relatively still through the release, but do not tense it in an attempt to bolt the elbow in place.
Think “smooth to the target,” not “throw hard.” Darts requires enough speed to reach the board cleanly, not maximum speed. In a laboratory study of 12 recreational-level players, instructions that gave velocity greater priority increased dart speed but reduced consistency compared with instructions that prioritised accuracy (van den Tillaar and colleagues, 2019).
If the dart reaches the board reliably without a strained effort, you are throwing hard enough.
5. Release cleanly and finish towards the target
Let the fingers open as the forearm moves forwards; do not add a forced flick at the last instant. Continue the arm after the dart has gone so the hand finishes extended towards the chosen target. DARTSLIVE divides the action into take-back, release and follow-through, with the fingertips finishing as though pointing at the aim point (DARTSLIVE throwing guide).
The follow-through cannot guide a dart that has already left your hand. It is useful as a checkpoint: an abrupt stop may show that you tightened up or cut the action short.
Hold the finish briefly. You should remain balanced, with your eyes still on the target and your hand naturally extended—not forced into a decorative pose.
Test the technique with 30 darts
Do not judge the throw from one treble or one wild dart. Test whether you can repeat it.
- Warm up with nine darts without keeping score.
- Aim at the full 20 wedge, including its single, treble and double areas.
- Throw ten visits of three darts using one cue only, such as “head still” or “finish at the target.”
- Record how many of the 30 darts land in the 20 wedge.
- Tally the misses as left, right, high or low.
Repeat the test on three separate days before deciding whether the cue helps. Compare the 20-wedge hit count, the direction of misses and how the action feels. Keep a change if the results improve without added pain, tension or fatigue; remove it if results deteriorate or the throw becomes less comfortable.
Change only one component at a time. Altering stance, grip and release together leaves no way to identify what helped. For a broader check of whether a mechanical cue survives different tasks and another day, use this repeatability audit for your darts throw.
Stop if throwing causes pain. “Correct” mechanics should give you a stable action you can reproduce—not require you to force your body into somebody else’s shape.