
Where Is the Throw Line in Darts—and Where Can Your Feet Go?
Set a standard steel-tip throw line, understand the oche foot rule and practise returning to the same stance with a measurable 30-dart drill.
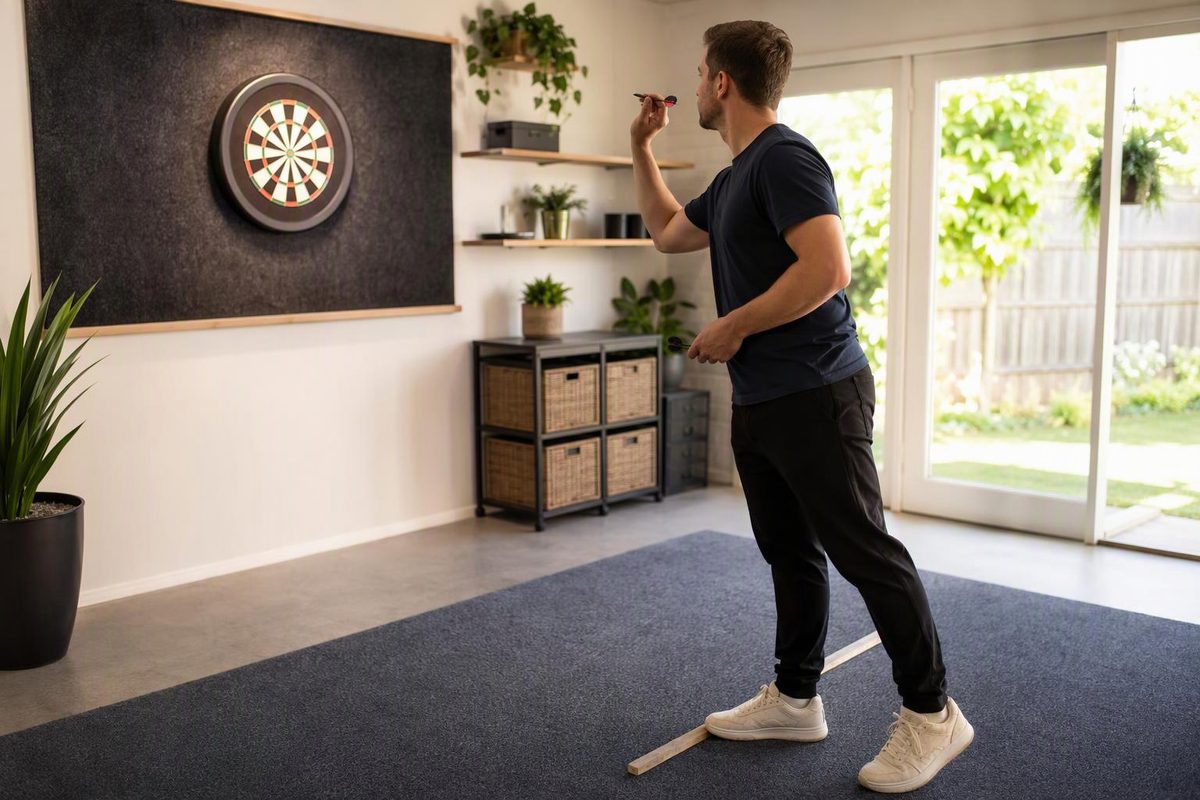
The throw line in darts is called the oche. It marks the closest position for your feet when you release a dart.
For standard steel-tip darts, the minimum throwing distance is 7 ft 9¼ in (2.37 m). Measure horizontally from the face of the mounted dartboard to the player-side edge of the line or raised oche—the boundary your leading foot must stay behind.
Steel-tip throw-line measurements
| Measurement | Standard |
|---|---|
| Board face to legal foot boundary | 7 ft 9¼ in (2.37 m) |
| Bullseye height | 5 ft 8 in (1.73 m) |
| Bullseye to oche, measured diagonally | 2.93 m |
The 2018 WDF Americas rules specify 2.37 m along the floor from the board face to the back of the raised oche, and 2.93 m diagonally from the bull to that same edge. They also require a tournament oche at least 38 mm high and 610 mm long (WDF Americas rules, sections 21.07 and 22.01–22.03). A Western Australian government sports-dimensions guide gives the same horizontal and diagonal distances, although its raised-oche dimensions differ (CITS darts dimensions guide). Follow the organiser’s equipment rules when preparing a competition venue.
For a complete board installation, including the mounting check, use this dartboard setup guide. Soft-tip throwing distances can differ, so check the machine or competition rules rather than moving a steel-tip line by assumption; our steel-tip and soft-tip distance guide covers both common setups.
How to mark the throw line correctly
Do not measure from the wall. A dartboard has depth, so measuring from the wall makes the throwing distance longer than intended.
- Mount and level the board first. Put the centre of the bull 5 ft 8 in (1.73 m) above the floor.
- Drop a plumb line from the board face. Mark the floor directly beneath the playing surface, not beneath the wall.
- Measure 7 ft 9¼ in along the floor. Keep the tape straight and square to the centre of the board.
- Mark the foot boundary. For a raised oche, measure to its rear, player-side edge. For a taped line, make that same boundary unambiguous.
- Cross-check diagonally. The bull-to-boundary measurement should be 2.93 m. If the horizontal and diagonal checks disagree, recheck the bull height, the plumb mark and whether the floor is level.
A wide strip of tape can create uncertainty if players do not know which edge is active. Mark the measured boundary with a thin, contrasting line or add a small label beside it.
Can your foot touch or cross the oche?
Keep both feet behind the legal edge while delivering a dart. The cited WDF Americas rules say a player must not tread on any part of a raised oche and must deliver each dart with both feet behind its toe edge. If throwing from beside the oche, the feet must remain behind an imaginary line extending across the floor from that edge.
Under those rules, the referee first warns a player. Darts subsequently delivered in breach do not score and cannot be rethrown (WDF Americas rules, sections 22.04–22.06). A local league or another governing body may use a different enforcement procedure.
Your upper body may lean toward the board; the cited restriction concerns the feet during delivery. Do not let an aggressive lean pull your rear foot forward or change your balance between darts.
Use the line to make your setup repeatable
The oche is more than a foul boundary. It gives you a fixed reference for rebuilding the same stance on every visit.
Choose one simple cue:
- the same point of your lead shoe meets the same point on the oche;
- your lead foot keeps the same comfortable angle;
- your weight feels settled before the dart rises.
Do not force your toe to point straight at the board merely because another player stands that way. The useful stance is one you can repeat without excess tension or loss of balance.
A 30-dart throw-line drill
Setup: Choose one target; single 20 is sufficient. Put a small reference mark beside the oche at your normal lead-foot position. Do not place tape where it could catch a shoe.
Action: Throw 10 visits of three darts. After every visit, retrieve the darts, walk fully behind the line and approach again as if starting a match turn.
Record two numbers:
- your total score from 30 darts at 20;
- the number of visits on which you adjusted your feet after first setting them.
Checkpoint: Repeat the drill for three sessions. Keep the target, dart count and approach the same. A falling adjustment count suggests that your setup is becoming easier to reproduce; the score helps you check whether that consistency is transferring to the board. If adjustments fall but scoring deteriorates, do not lock in the stance automatically—check balance, comfort and release before changing anything else.
The aim is not to find a mathematically perfect foot position. It is to arrive behind a correctly measured throw line, set your feet without searching and begin each visit from a stable reference.